Perfect Profile Photo
- 1
Acknowledge responsibility
This tool uses AI to modify photos. By uploading, you accept responsibility for the accuracy and likeness of the final image on the agent’s behalf.
- 2
Upload your image
Don’t worry about the existing composition or quality — the tool can upscale, enhance, extend backgrounds, fill in, and rebuild shoulders.
- 3
Position the subject
Drag to move and use zoom to frame the subject. Adjusting the crop is what unlocks the AI recommendations below.
- 4
Review preview & recommendations
Check the square and circle previews, and apply any AI recommendations if shown.
- 5
Export the image
Download the standardized 500×500 square JPEG, under 500KB.
- 6
Upload Photo to HOME
Follow the step-by-step instructions provided below.
Choose your brand to unlock the photo tool below. This field is required.
Or try a sample portrait
Profile update instructions
Agent Self Service Update
Update your own profile photo directly. Watch the walkthrough below, then follow the steps.
Video tutorial: Perfect Profile Photo
Now that you've perfected your profile photo, follow these steps to update your image in HOME:
- 1
OPEN YOUR PROFILE
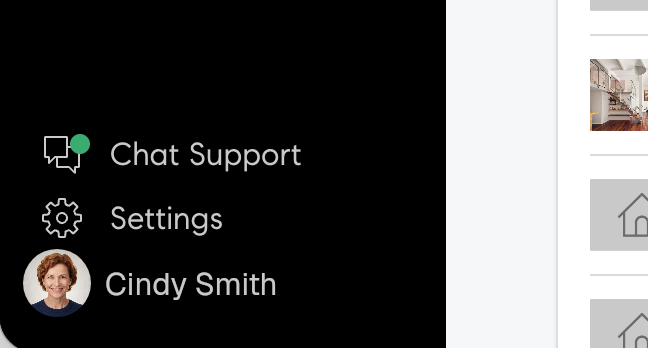
In Home Platform, click your profile image in the bottom-left of the navigation menu.
- 2
MANAGE PROFILE
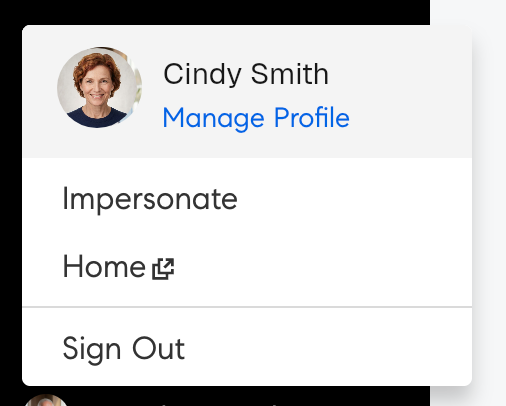
Now select "Manage Profile" under your name.
- 3
EDIT YOUR PHOTO
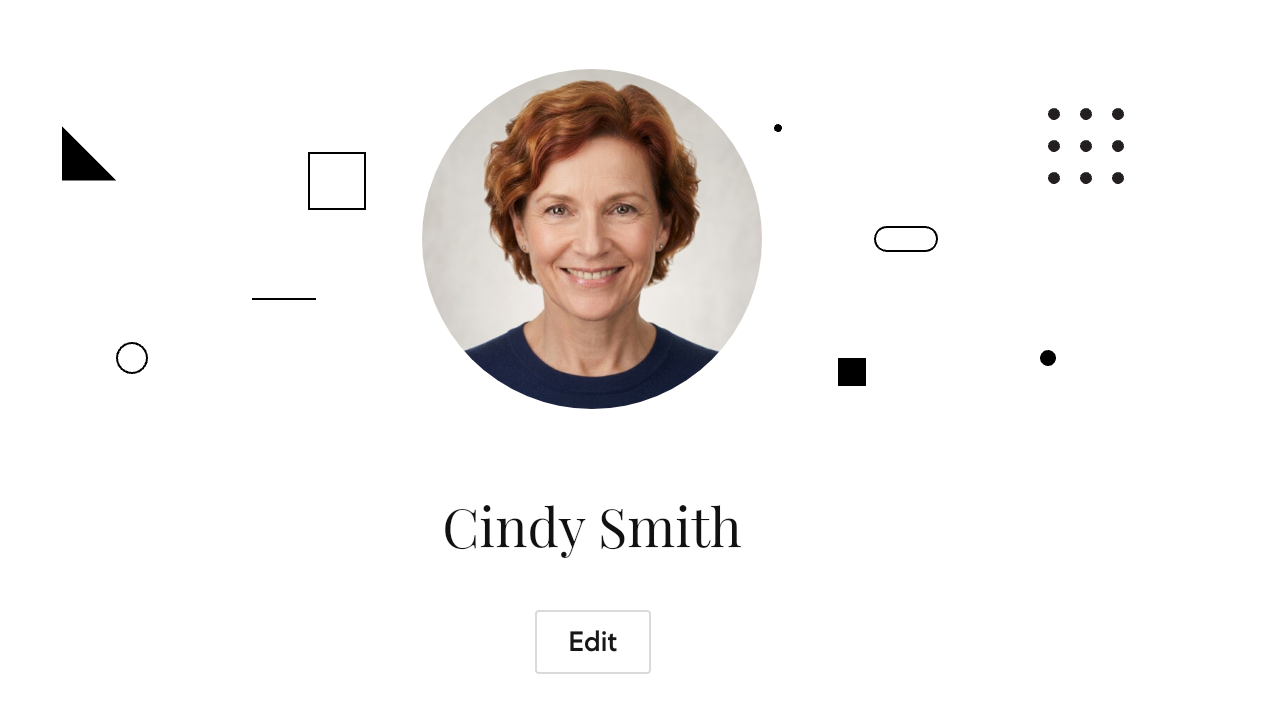
Click "Edit" to update your profile photo.
- 4
UPLOAD AND SAVE
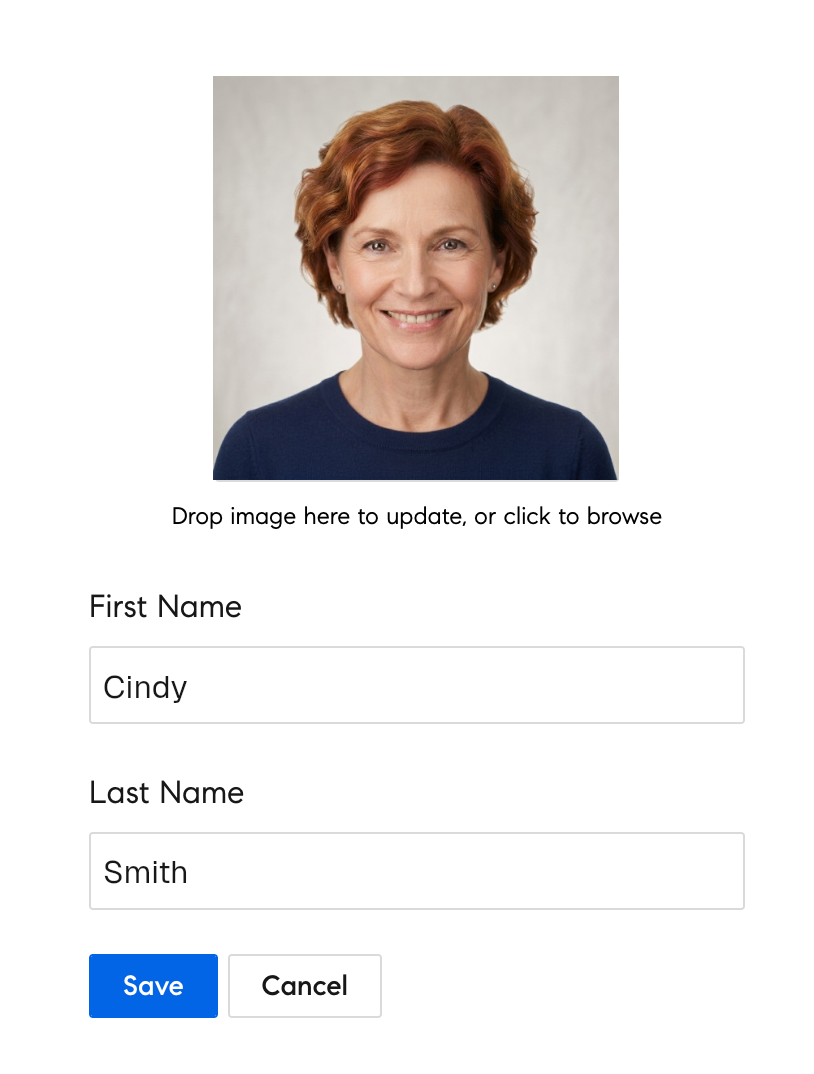
Drop your enhanced image here to update (or click to browse), then press "Save." That’s it!